Want to get good at surface prep with the best bonding primers?
Surface prep is essential to accomplish a tiling job that is flawless, long-lasting, and enhanced by a professional finish. It doesn’t matter how good your adhesive is, if your surface prep isn’t proper, the results will be subpar. You are bound to face issues like cracking and detachment down the line because of poor bonding.
Fortunately, mastering surface prep isn’t hard. All you’ll need is the right technique and a good bonding primer for a job you can be proud of.
As a manufacturer of high-end tile adhesives and bonding primers, we know a few tips and tricks that could help you become a pro at surface preparation.
So consider this article your comprehensive guide to getting great at surface prep while using the best bonding primer as your ally.
Why Bother with Surface Preparation?
Before we proceed further into this article and discuss the various tips and tricks you can employ, it is important to understand how important surface prep is. Most substrates like existing tile, glass, metal, or concrete will resist bonding with an adhesive because of their non-porous nature.
You are going to have a tough time applying any adhesive to such surfaces before they are appropriately prepped. Without proper preparation, you are leaving room open for tile failure down the line. The bond between the substrate and tile will eventually weaken as the adhesive remains exposed to high stress, moisture, and changes in surrounding temperature.
Surface preparation with a good bonding primer for tile is essential to mitigate the risk of such issues. Bonding primers serve as a bridge between the adhesive and the surface. It modifies the texture of a surface it is applied on, making it easier for the adhesive to bond with it.
Tips to Mastering Surface Preparation for Seamless Tiling
Now that you know why surface preparation is important, let’s cut to the chase and look at a few hacks you can use to get good at it.
Tip 1. Assess your Surface
To ensure success, it is imperative you start by first getting a better understanding of the surface you are working with. Learn whether you are working on a porous surface like drywall or a non-porous surface like metal.
Before you begin priming, it is also important to check the surface for any type of contaminant. We are talking about dirt, dust, grease, and other substances that could affect the tiling process. You need to make sure the surface is thoroughly clean as this will set the stage for everything that is to follow.
If you are working with a non-porous surface, we suggest using a degreaser to clean it. On the other hand, a damp cloth will do just fine to clean porous surfaces.
Tip 2. Test on a Smaller Area
Instead of just spreading the primer across your entire surface right off the bat, we believe it is wise to first test the substance on a small patch. Pick a spot that’s easily hidden from your view. Prime this spot and let it set. Once set, apply the adhesive and the tile and wait for 24 hours. Try to lift the tile to assess the bonding strength.
This test on a small patch of land lets you assess how effective each material in your arsenal is. Doing this is a good way of cutting your losses as you can avoid costly repair work trying to redo the tiling on your entire floor and walls because the primer or adhesive didn’t set right the first time.
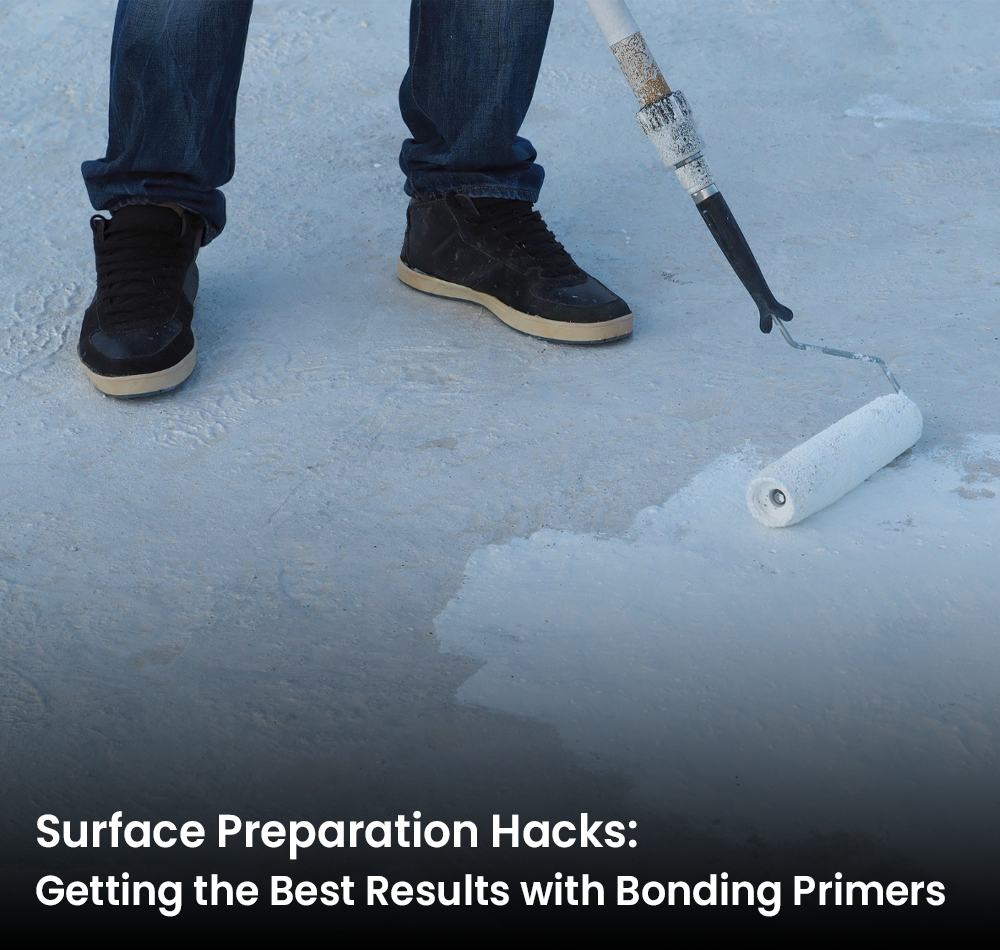
Tip 3. Get Uniform Coverage with a Brush or Roller
Once you have a clean surface, it is time to apply the bonding primer to the tile. Applying the primer is a critical step when preparing a surface. You want to use the right tool for a job well done. Conventional wisdom would dictate using a brush or roller. These tools are easy to handle, will help you spread the primer evenly across the surface, and cover almost everything.
Now how you use the tools will depend on the surface you are working with. We would suggest relying on a short-nap roller on areas that are flat and large. These rollers will help you spread the primer thinly and more evenly across the surface while avoiding pooling. For edges and spots that are more textured, a brush would be wiser.
Those areas demand precision, which you can achieve with a brush. Remember, uneven application will result in missed or weak spots. It could also result in delayed curing, which is a serious problem. A roller will ensure you get a broader coverage whereas a brush aims for precision.
Tip 4. Pay Attention to Your Environment’s Temperature
You could end up doing everything properly when prepping your surface and still end up with failure if the surrounding temperature isn’t just right. The primer will dry slowly if the room temperature is too cold whereas the curing will be uneven if the temperature is too hot.
We would suggest keeping your room temperature somewhere in the range of 10 degrees Celsius to 35 degrees Celsius. Use a heater if the weather is too cold. Use an air-conditioner if the weather is too hot. You need the primer cured evenly across the surface to apply a tile adhesive later without any hassle.
Tip 5. Use a Good-Quality Bonding Primer for Tiles
Ultimately, the quality of your surface prep will boil down to the kind of bonding primer you’ve used. A good-quality primer will transform any substrate, no matter how tricky it is, into an adhesive-friendly surface. They greatly reduce the risk of adhesive failure and waste. You can achieve a long-lasting bond with minimal use of adhesives.
A good-quality bonding primer also protects the substrate from oxidation, corrosion, and other forms of environmental degradation. With strong adhesion guaranteed, you don’t have to concern yourself with costly repairs and tile replacements.
You also don’t have to look any further than Magnus Ventures to get your hands on the finest bonding primers.
M-Surface Bond and M-Tile Grip – Bonding Primers for Enhanced Adhesion
A long-lasting bond with a professional finish is what you get when using M-Surface Bond or M-Tile Grip.
With M-Surface Bond, you get a polymerized liquid that’s excellent at strengthening the bond between a substrate and a plaster/tile adhesive. On the other hand, M-Tile Grip is a single-component product that can be applied on the back of a tile to improve adhesion on walls and floors.
The products were specifically engineered to guarantee strong adhesion while also exhibiting impressive water, impact, and hydrolysis resistance.
Surface preparation doesn’t have to be challenging. Bonding primers like M-Surface Bond and M-Tile Grip ensure you have a clean surface that latches onto any tile or adhesive and keeps it firmly in place for many years to come.
If you are interested in learning more about M-Surface Bond and M-Tile Grip, we suggest you give us at Magnus Ventures a call right away.